So I was recently asked to create an animation for the RSPCA's Microchipping Campaign, in order to raise awareness of the new law in the UK and Wales which states all dogs must be microchipped, and have their details up to date by the 6th April!
I've tried to cram the entire creation process into a neat little blog post here as a 'behind the scenes' view on exactly what is involved in my animation process.
So firstly, I start by drafting a storyboard to help get my idea across (after the script has been signed off). This allows me to plan which elements I need to design and create, along with the overall style and feel of the animation:

I then use Adobe Illustrator to start designing the characters, and later Photoshop to layer in some textures and patterns. I chose to use paper textures to allow the characters to 'pop out' from the backgrounds.
Illustrator - Design Process
Lucy
Here's some examples to show how Lucy's appearance changed throughout the design process. The first looks too pale and bleurgh, and the second looked way too immature to own a house! Sooo in the end I settled with a more grown up looking Lucy!


Rufus
I initially designed Rufus to match up with RSPCA's mascot dog, but I later changed my mind and decided to give him a more softer and simpler look. (and was much happier with the result!)


The next step was to get all the characters moving! I used a rigging tool for AfterEffects called Duik- DuDuf IK Tools (this can be downloaded here for free). This means that all the body parts of the characters had to be separated into different layers, then linked to one another to create an IK chain as if they were real bones!

This is one of the more time consuming processes of puppet animation, if one thing is linked incorrectly you can loose control of the character and also distort the imagery.
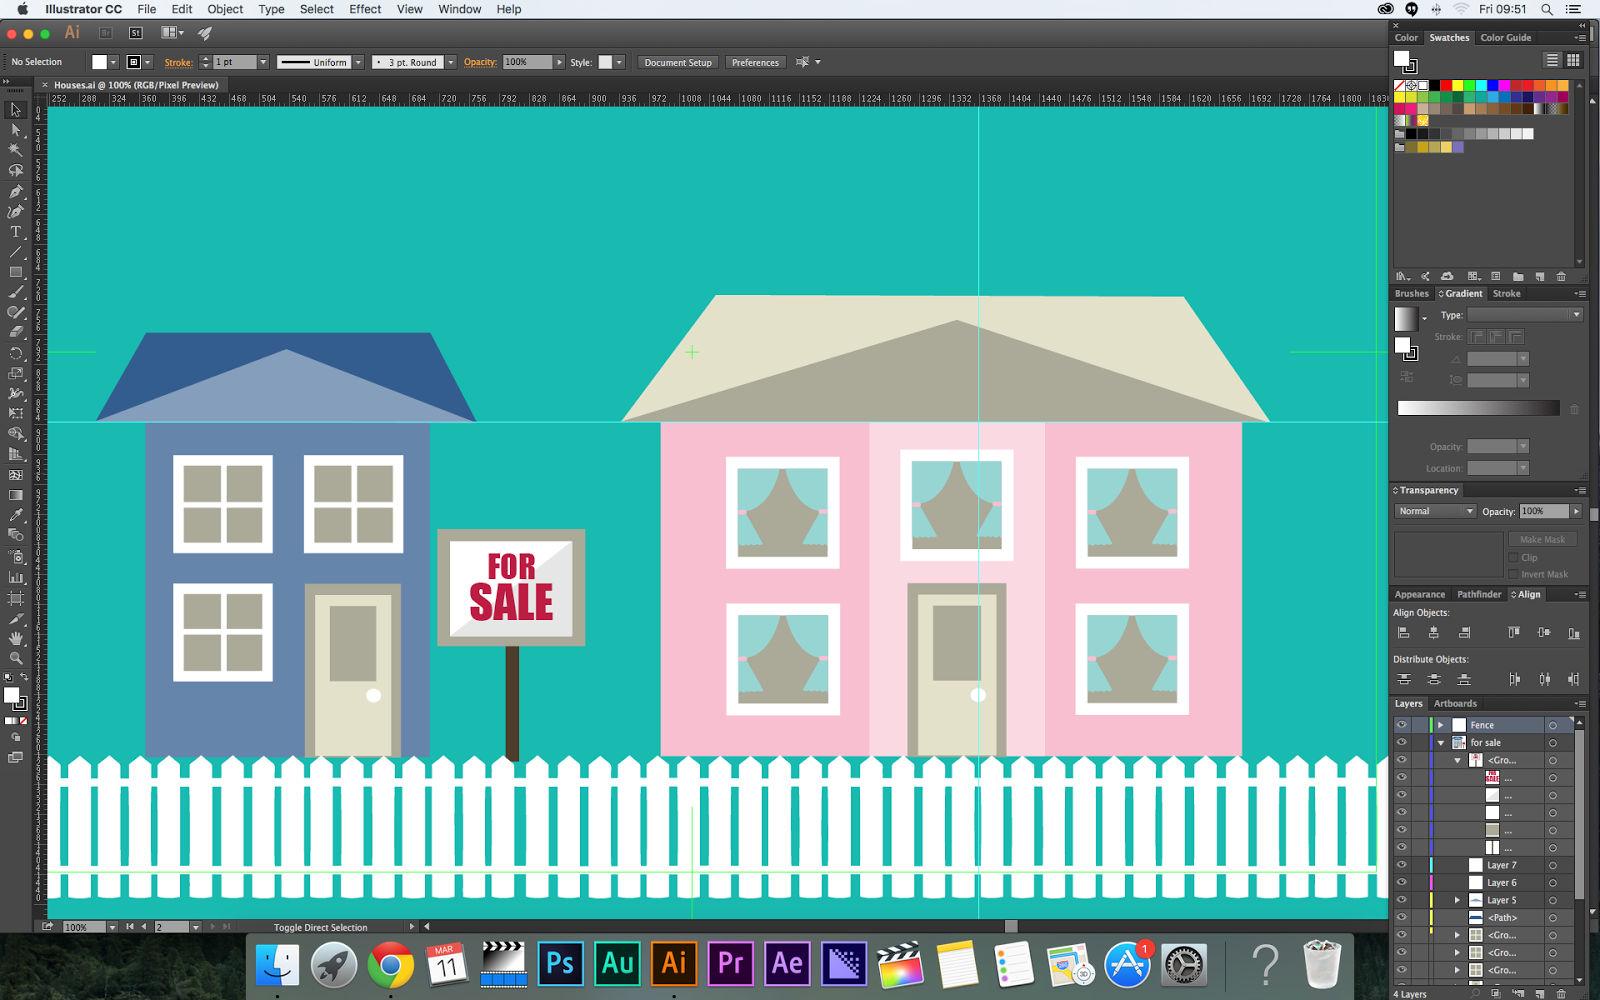
Illustrator & Photoshop - Assets & Backgrounds
Once the characters were ready to animate into a story, I could start adding the scenery and components that would complement their actions and the narrative of the video. I create all these components and backgrounds in Illustrator & Photoshop.
After Effects- Layering
Next is my favourite part! I can now start layering together the characters within their environments to give the animation a 3D appearance, along with using camera angles and movement to push the narrative and pace of the story forward.


Final Touches
Once I am happy with all the compositions and sequences, I can then import the high res animations into Premiere Pro for editing together, along with adding some sound effects and uplifting music to inject life into the video!
So there you are, I have crammed as much I can into one post, and I hope you have enjoyed it!
Watch this space for similar 'behind the scenes' breakdowns of future animations and video projects. But for now, sit back, relax, and take some time to watch the final creation here!
And as always, please like, share, and spread your social magic around!
See you soon :)
No comments:
Post a Comment